
How to install a new font on a PC? Users and designers face this question very often. Rest assured, there is nothing tricky in this process!
This article provides a step-by-step guide to help you understand how to install downloaded fonts correctly on Windows and iOS-powered computers.

How to install a font file: Important details
Users often ask how to add new fonts to a program. However, font files are installed into the operational system rather than a separate, individual service. So, it’s enough to download a font file, and the installed font will appear in the necessary program, whether it’s Adobe Photoshop, Corel Draw, Figma, Microsoft Word, or any other.
Another crucial nuance is the font file’s format. Font files are most often distributed in the ttf (TrueType) or otf (OpenType) formats because they are the best-suited for MS (Microsoft) software. Fonts with any other extensions can be formatted using an online converter tool.
You can purchase and download commercial fonts on multi-brand platforms like MyFonts. There, you will find fonts made by various studios, including TypeType. Apart from that, in most cases, you can purchase fonts directly on the website of the studio that released it. To download free fonts on your computer, you can use special resources like Google Fonts. On our website, you can download different options from the free font collection and also trial versions of our commercial typefaces to test them in your project before purchasing.
Remember, to use fonts, you need a license—this applies to both commercial and free typefaces. To make your user experience positive, please read licensing agreements carefully. Learn more about font licensing in our article.
How to install fonts on Windows PC
The following method works for all versions of Windows, including Windows 10.
- Download the font from the chosen resource. The downloaded font is just a regular file. If you’re unsure where it was downloaded, you can easily find it in the «Downloads» folder. If the files are saved as a zip archive, you will have to unpack them before installing;
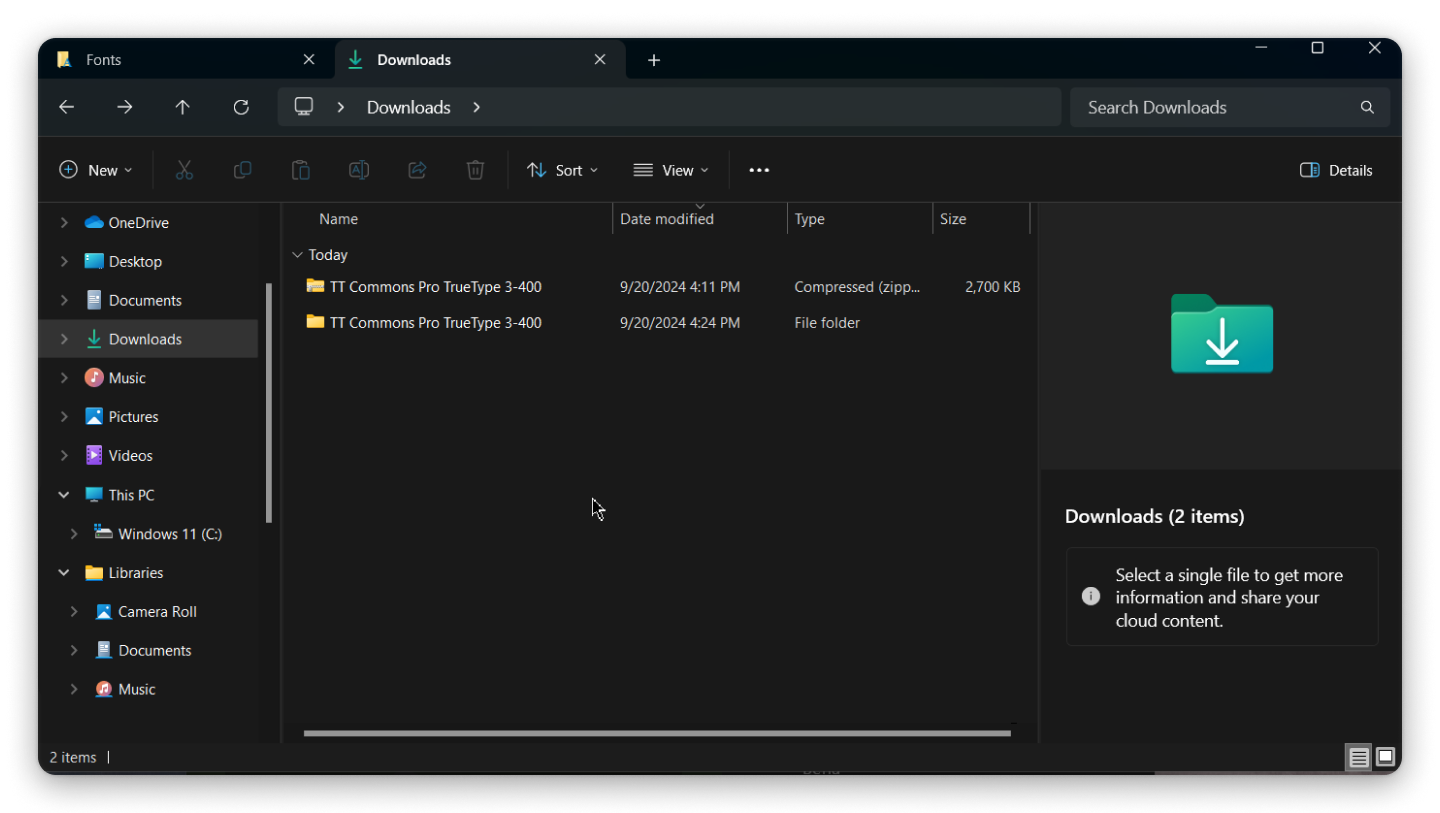
2. Move the font file into the C:\Windows\Fonts folder (or use copy-paste to do so). After moving the file, it will be automatically installed, and you will be able to use it in any program.
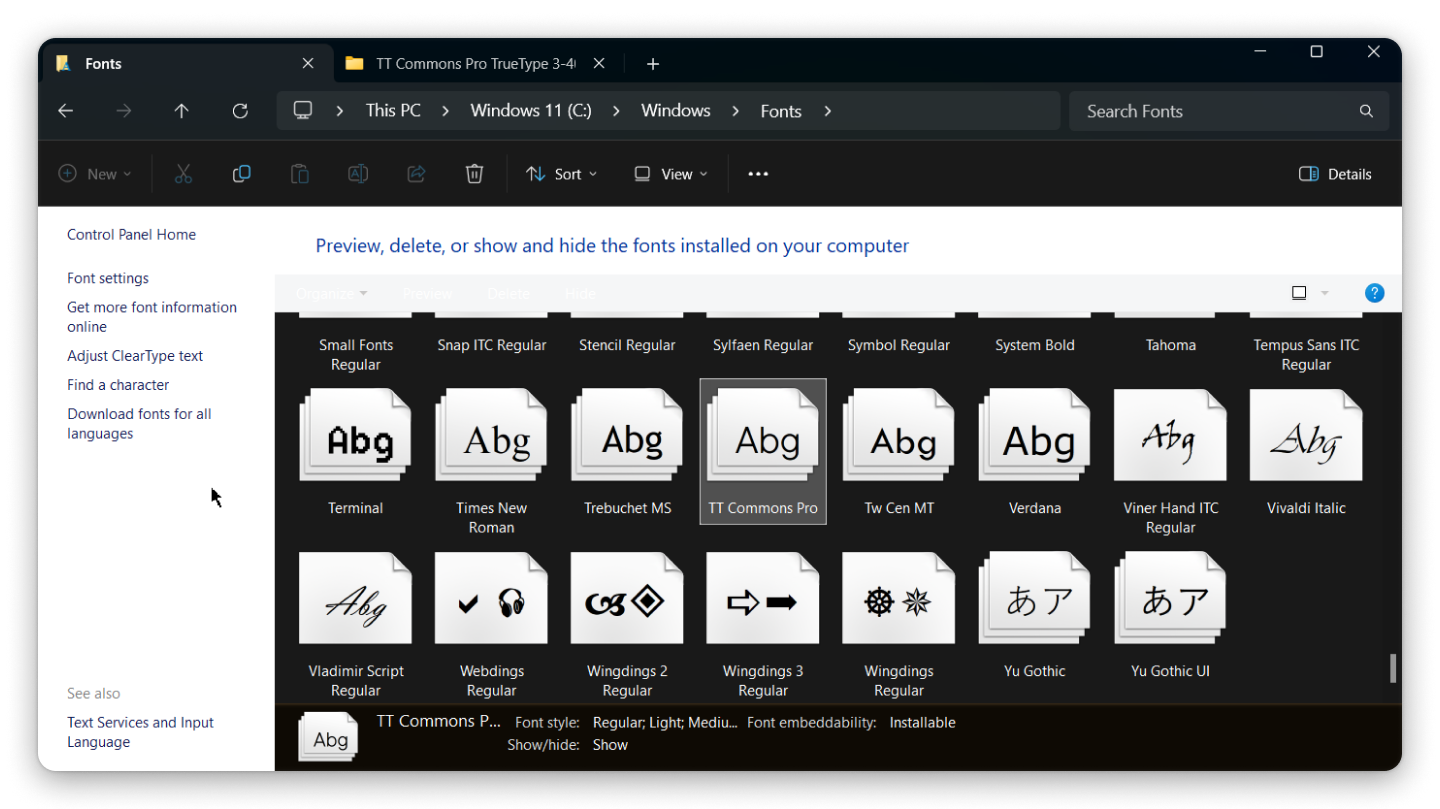
There is another easy way to install fonts on Windows 10 computers.
- Download the font;

2. If the font was saved as a zip archive, unpack the file;

3. Open the file by double-clicking on its icon and click the «Install» button;
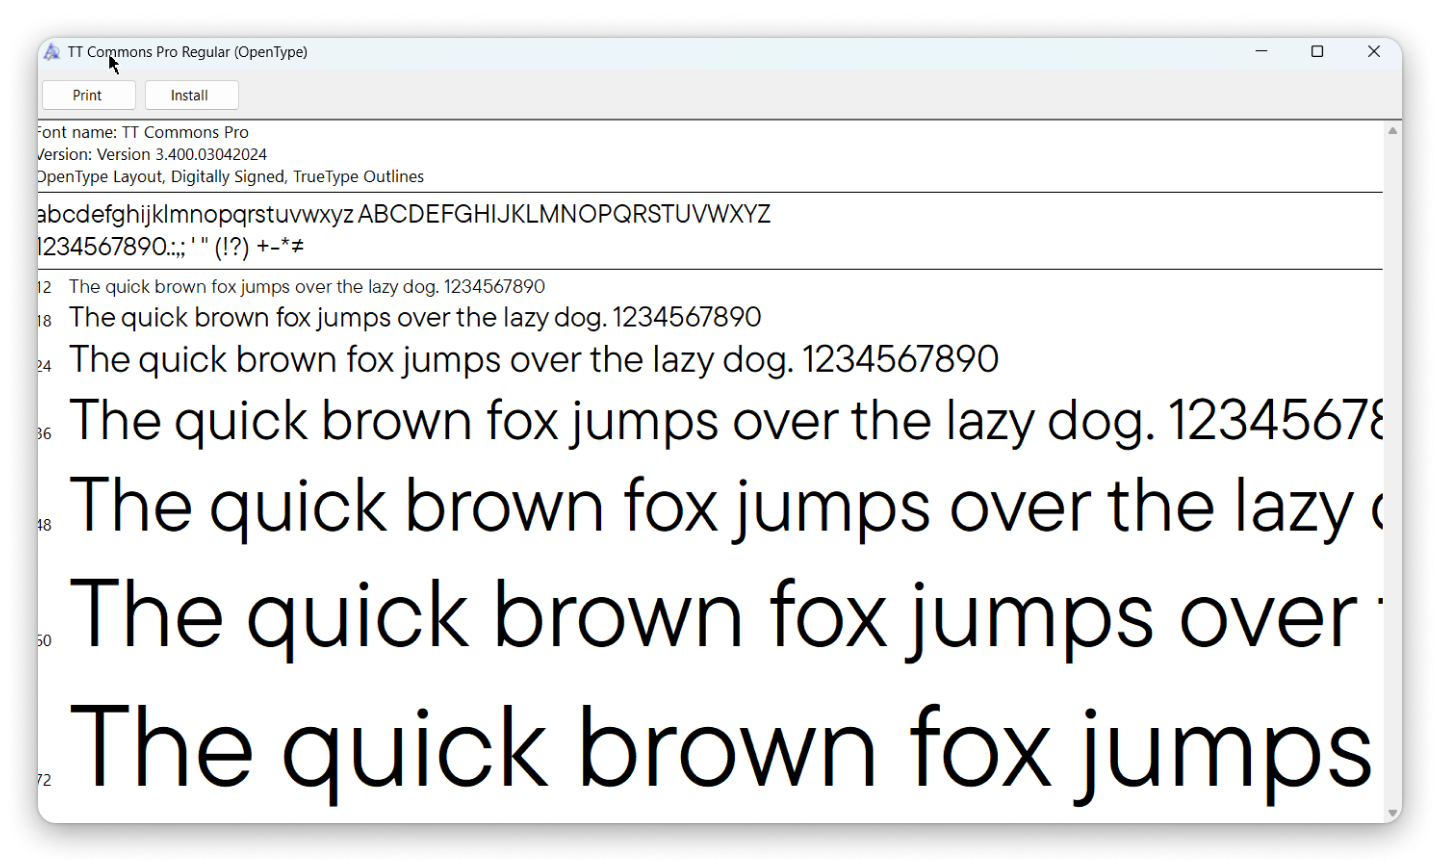
4. After installation, the downloaded font will automatically become available in all programs. If you cannot see the new font, restart your computer.
As you can see, installing fonts on Windows is quite easy. Now, let’s find out how to add fonts on Mac.
How to install a font on an iOS PC
When downloading fonts from external sources (online), the procedure will be nearly identical to installing them on Windows.
- Download the font file to your computer or laptop;
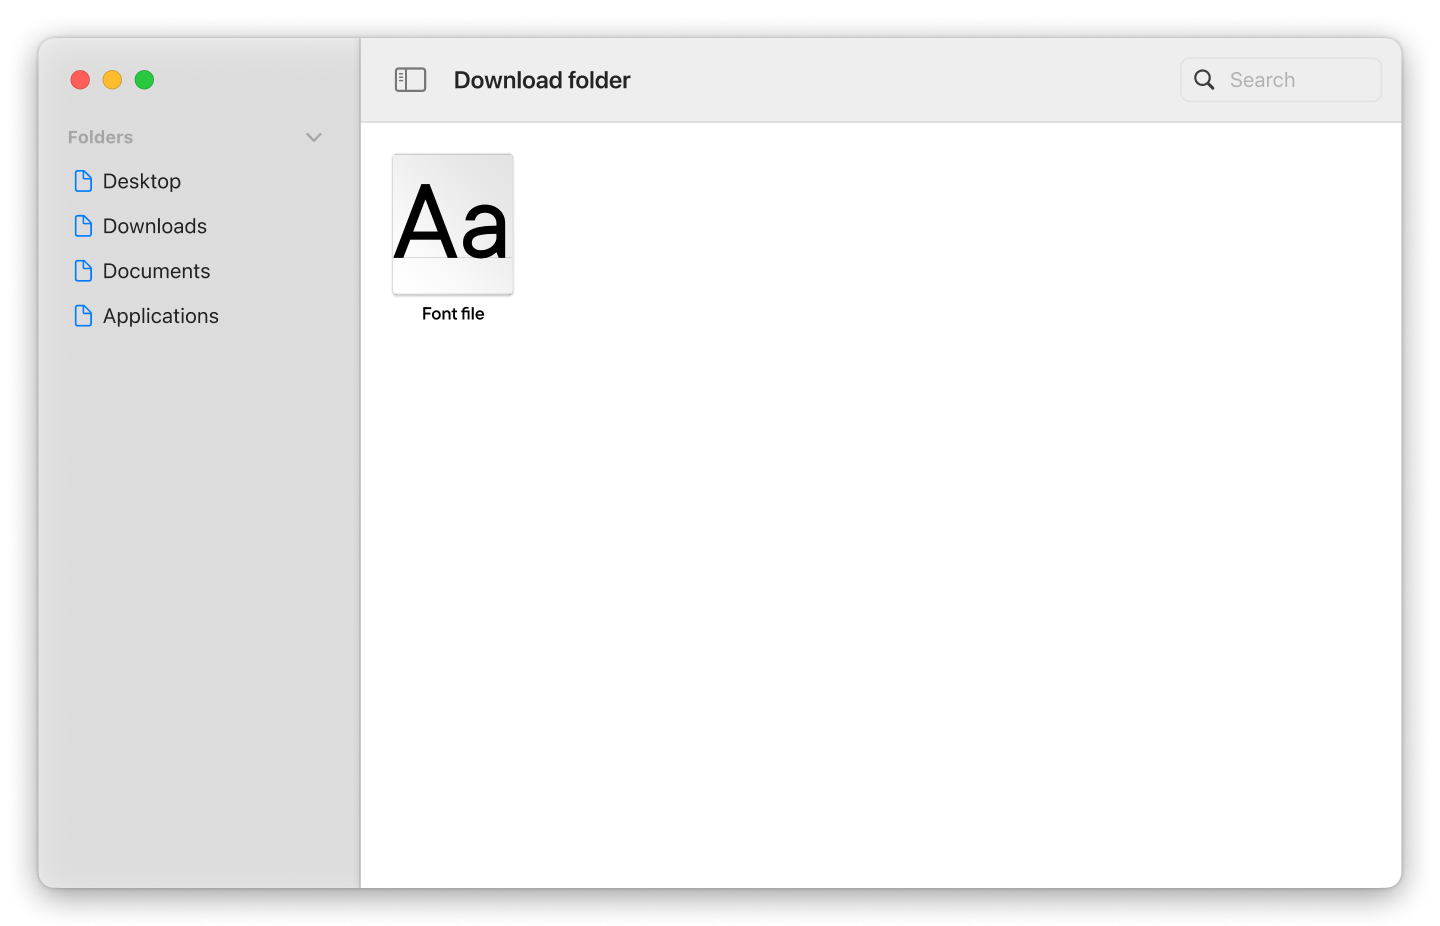
2. If the files are archived, unpack them;
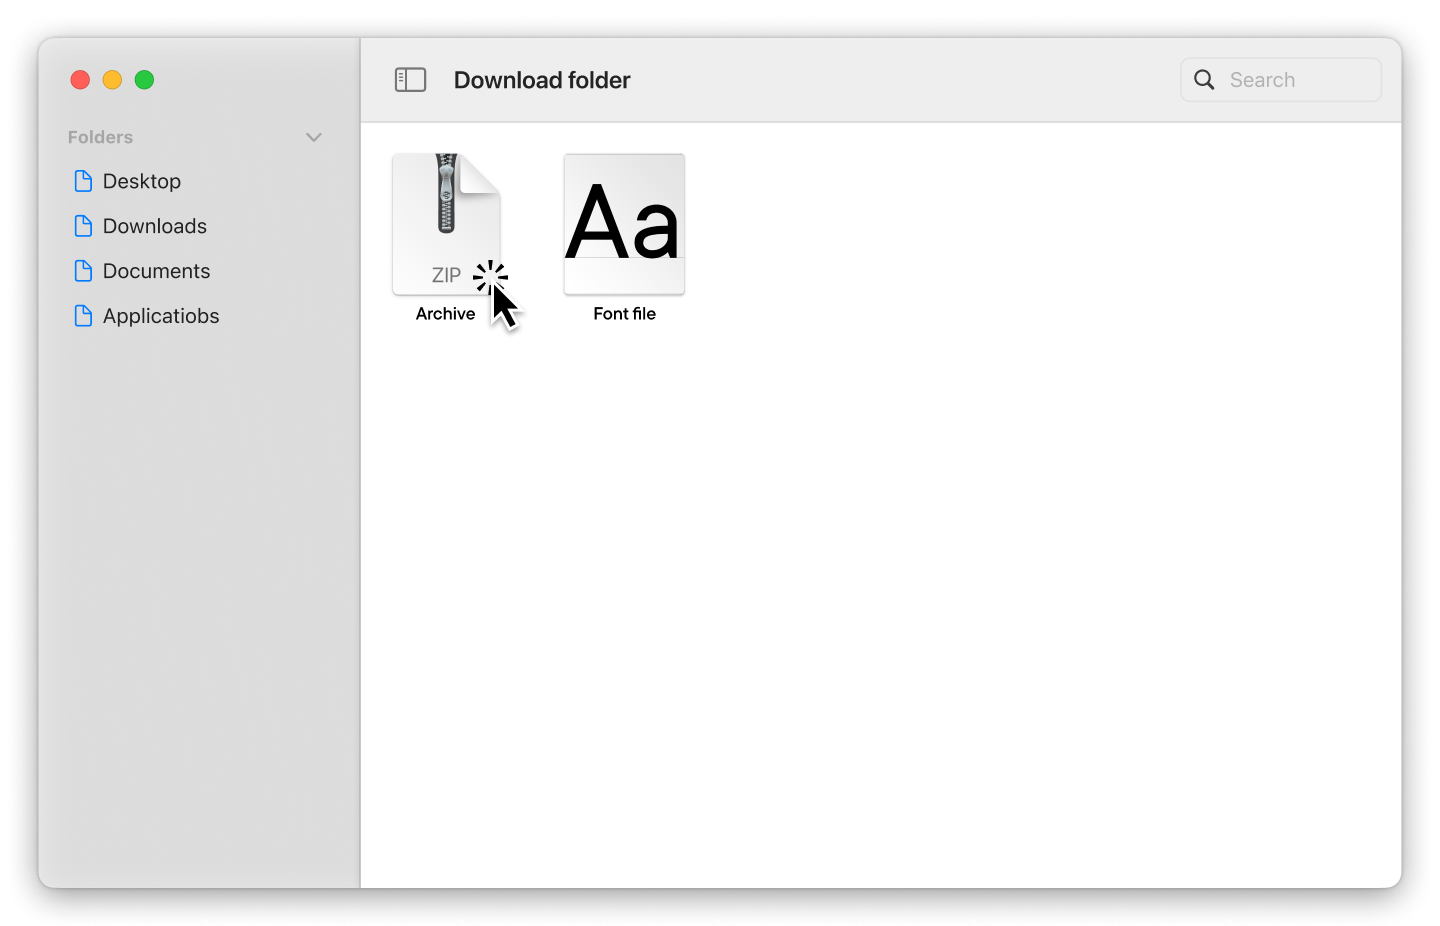
3. You will see the downloaded font file in «Finder.» Double-click it and select «Install.»
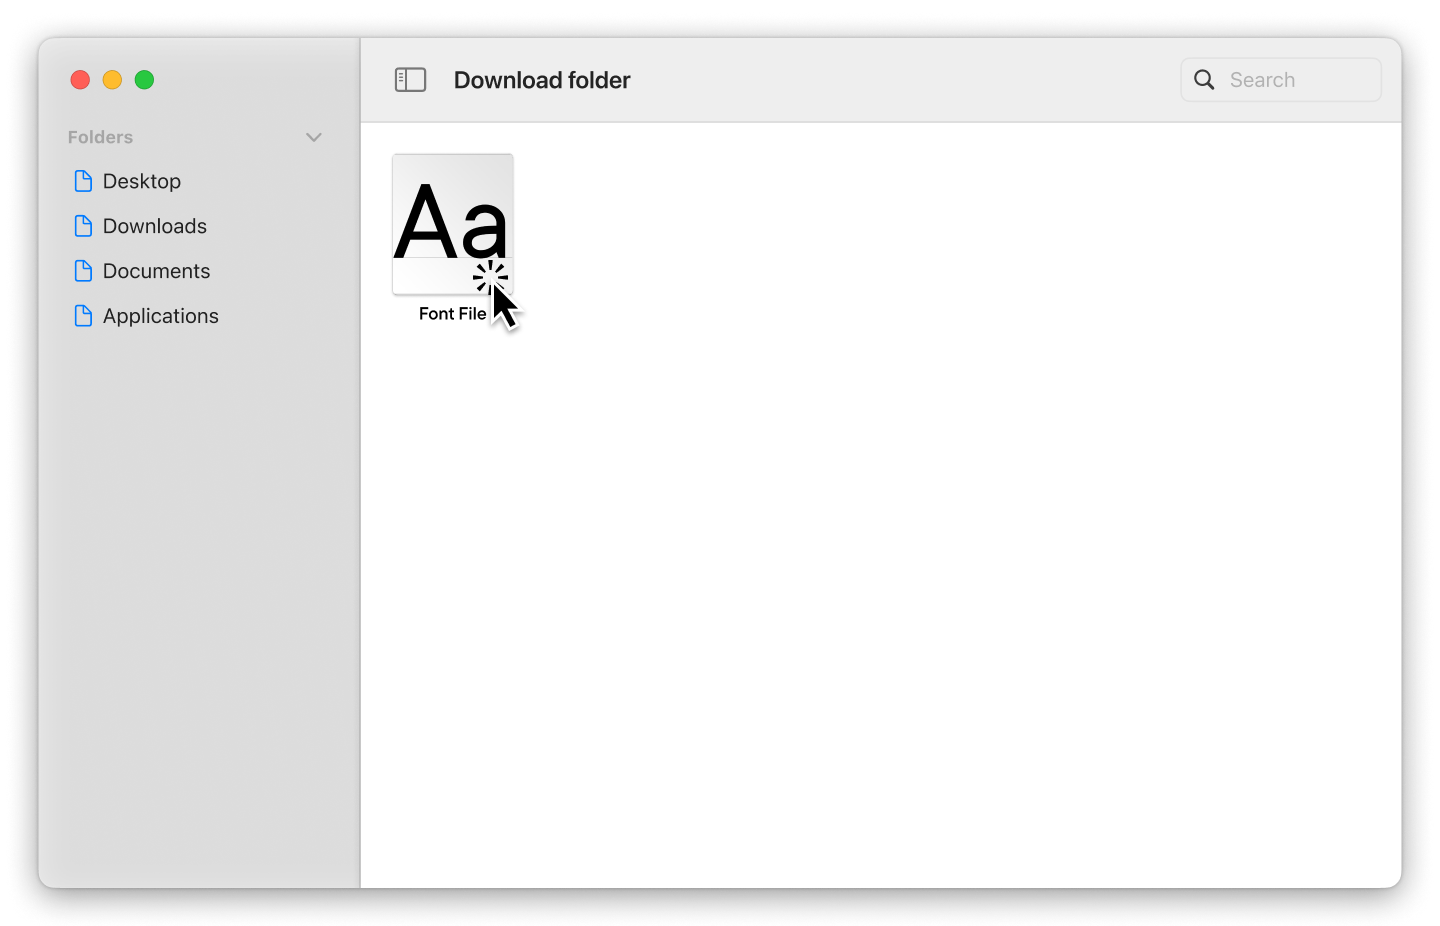

After installation, the font will automatically become available in all programs. If you still don’t see it, restart your computer.
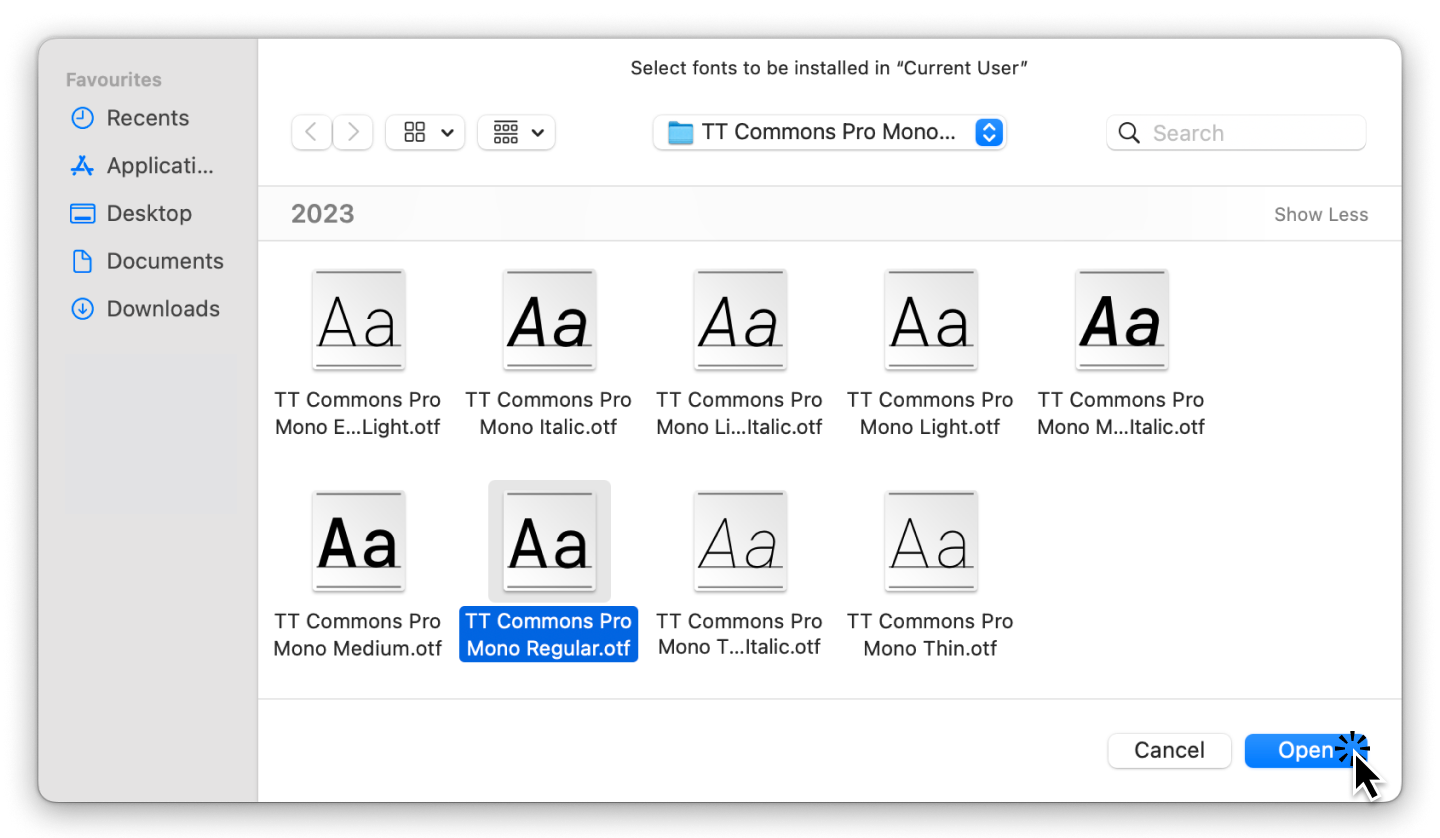
Alternatively, you can use the «Font Book» application on Mac to install fonts. Using this method to import fonts to your computer enhances security, with the app automatically verifying files for errors.
- Download the font file;
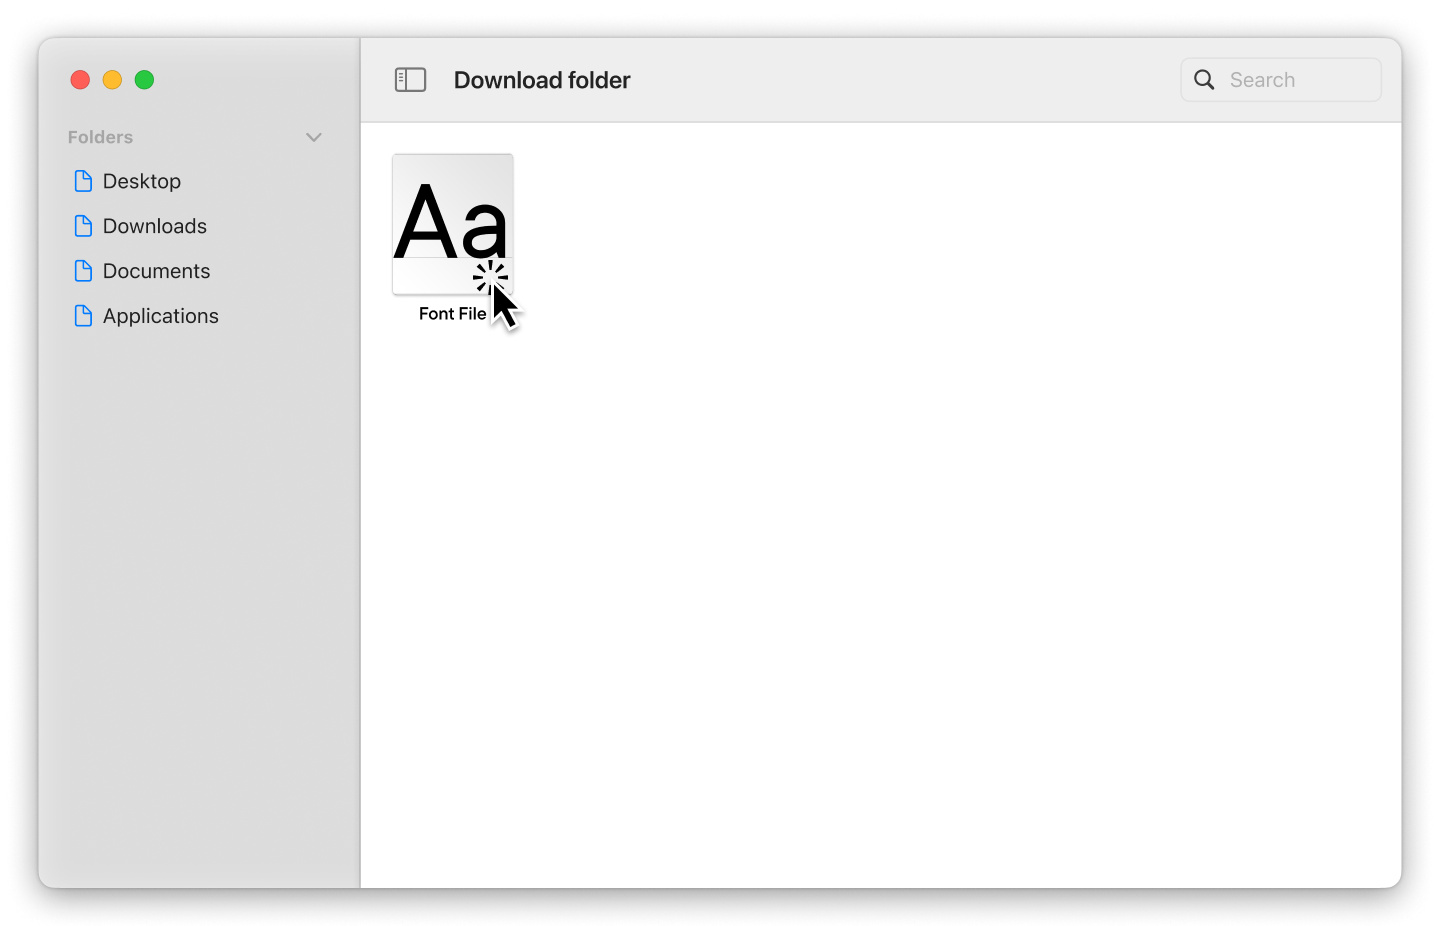
2. If the files are archived, unpack them;
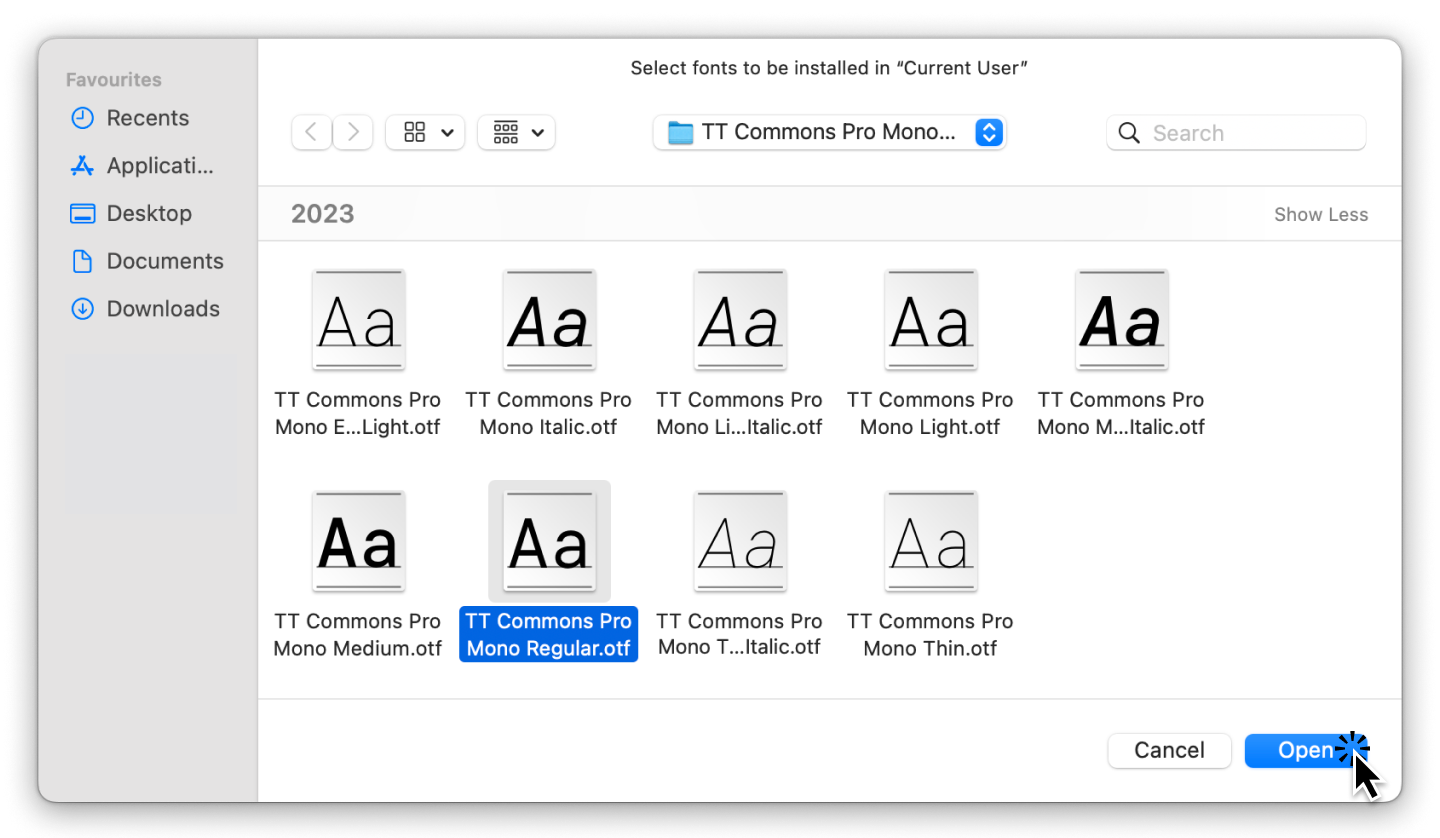
3. You will see the downloaded font file in «Finder.» Double-click it and select «Install.»
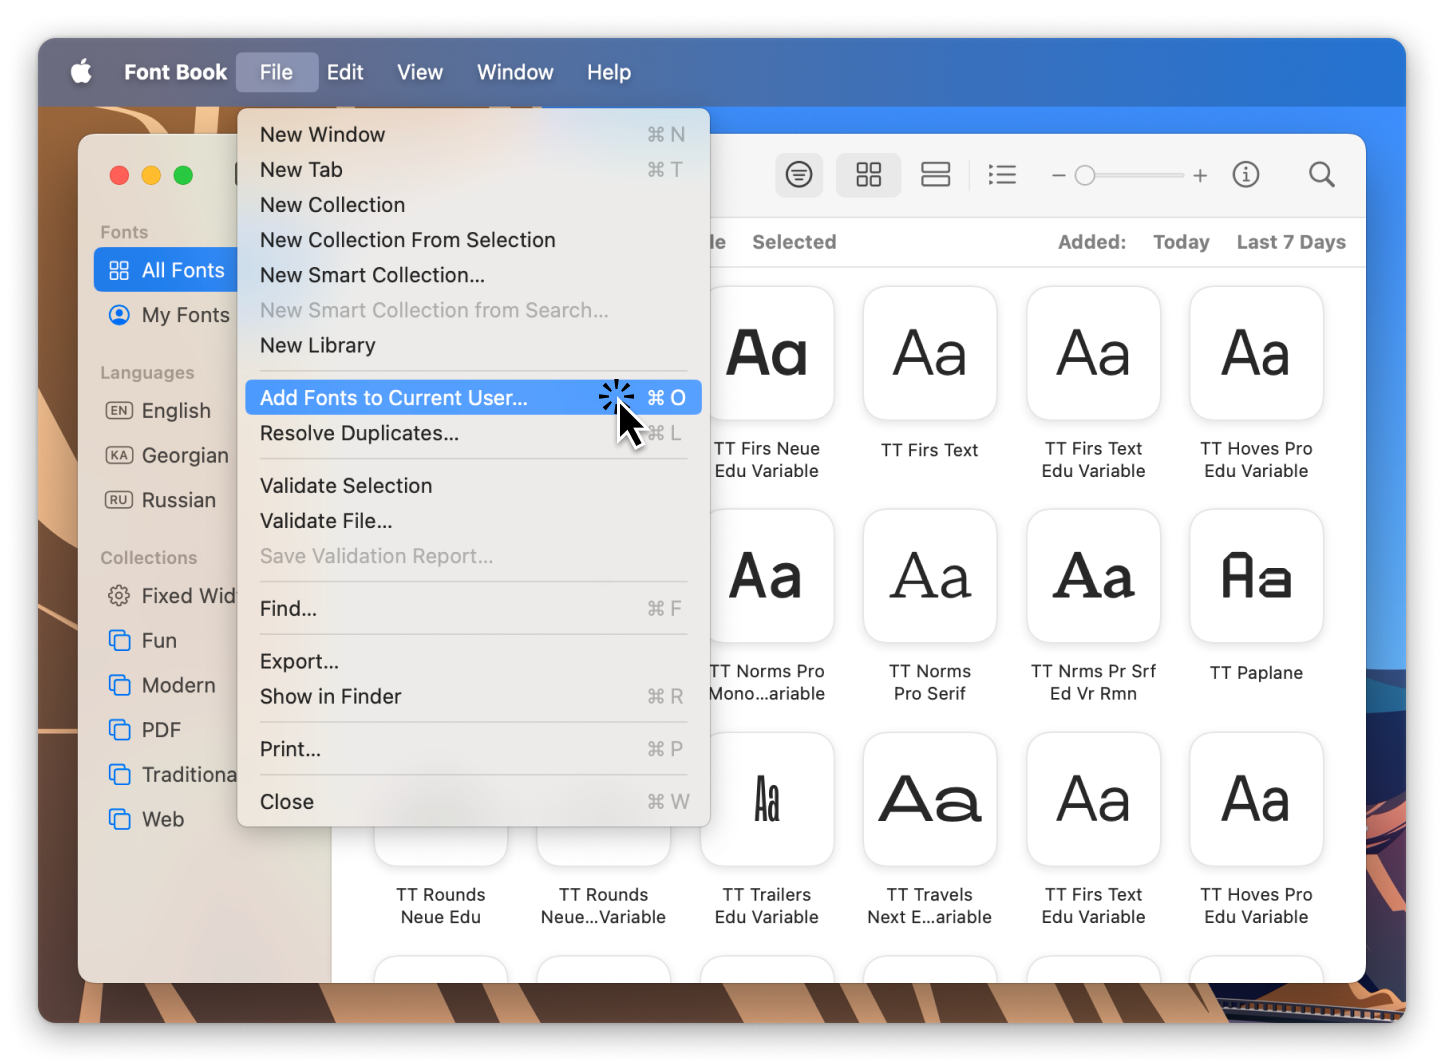
4. In the window that appears, double-click the desired font file.
Conclusion
It turns out that importing fonts is a very straightforward process. Try downloading a font right now: you can practice with the trial font versions from TypeType. To learn more about how to work with fonts and unleash their full potential, check out our article «Font’s Hidden Capabilities.»


